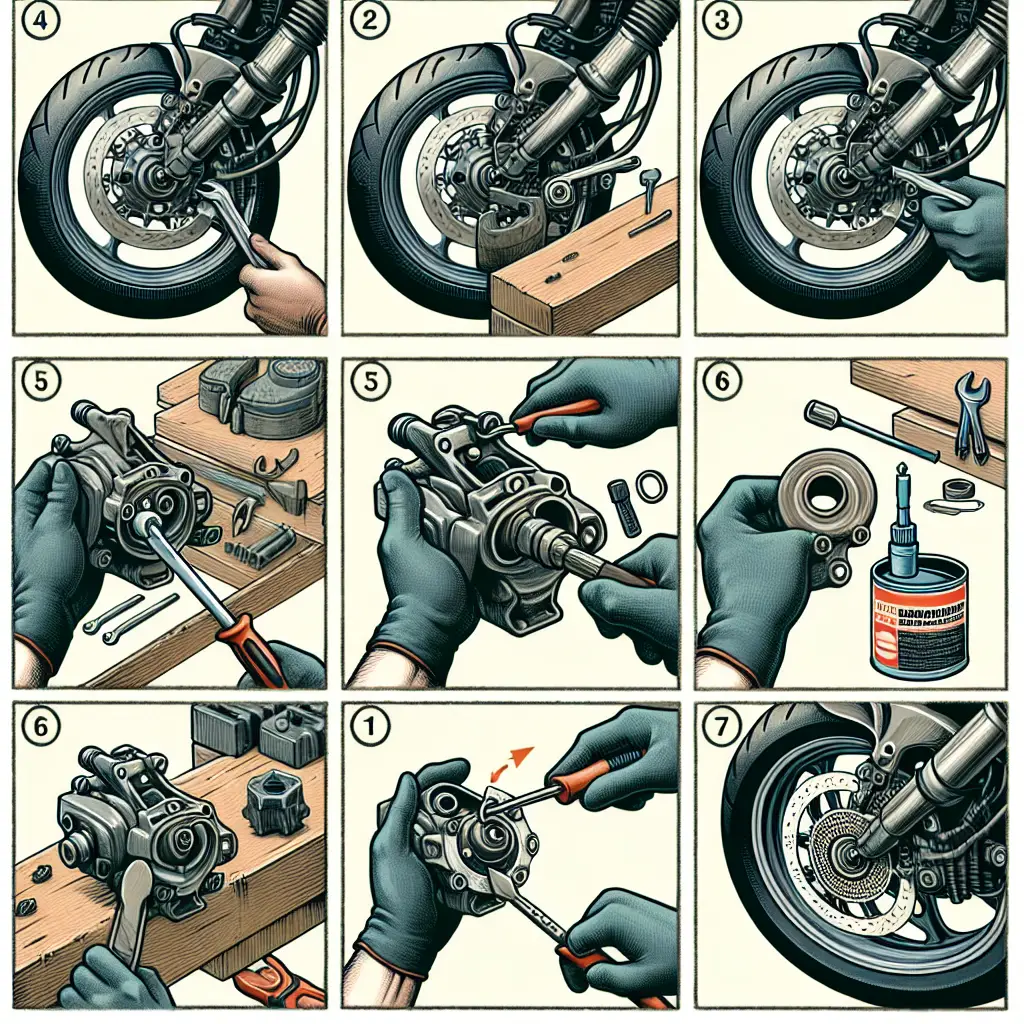
How to Remove a Seized Motorcycle Brake Caliper Piston: Your Step-by-Step Guide
Struggling with a seized piston in your motorcycle brake caliper can be a real headache. It disrupts the performance and safeness of your ride and, honestly, puts a damper on the joy of cruising on two wheels. But worry not! Whether you’re a seasoned biker or new to the garage, this step-by-step guide is here to walk you through the process of freeing that stubborn piston and getting back on the road with confidence.
Understand the Culprit Behind the Seize
Before we roll up our sleeves, let’s quickly understand what causes a brake caliper piston to seize. Caliper pistons can become stuck due to corrosion, dirt build-up, or lack of regular maintenance, leaving them unable to retract. Commonly in motorcycles, this issue is exacerbated by the heat and friction generated during rides, which, when mixed with environmental elements, can be a recipe for seizure.
Tools You’ll Need:
- A set of open-end wrenches
- A brake caliper piston tool or a C-clamp
- Brake cleaner (WD-40)
- A catch pan for brake fluid
- A rag/cloth
Safety First
When working with brake components and brake fluid, it is crucial to always keep safety in mind. Brake fluid is corrosive and can damage paintwork and irritate skin. Ensure you wear gloves and safety glasses.
Step 1: Prepare the Motorcycle
Place your motorcycle on a stable surface and ensure that it is securely supported. You don’t want any unnecessary movement while you’re exerting force on the brake components.
Step 2: Remove Caliper from Brake System
Using the appropriate wrenches, carefully disconnect the caliper from the brake system. You’ll want to do this by loosening the bolts that hold the caliper in place. Once loose, carefully remove the caliper, ensuring not to damage the brake line.
Step 3: Inspect Caliper and Remove Brake Pads
Now that you have the caliper off, remove the brake pads. Take this opportunity to inspect them for wear. If they’re heavily worn or damaged, they’ll need replacing. Consumer Reports offers a great article on signs your brake pads need replacing.
Step 4: Attempt to Compress the Piston
Take your brake caliper piston tool or a C-clamp and try to gently compress the piston back into the caliper housing. Sometimes, if the seize isn’t severe, this might be all that’s needed. If the piston doesn’t budge, don’t force it, as that can cause more damage.
Step 5: Apply Heat and Brake Cleaner
Next, apply moderate heat to the caliper area around the piston – this can help break the seal caused by corrosion or debris. Be cautious not to overheat any one spot. Follow up with the brake cleaner, spraying it around the piston, clearing away any grime.
Step 6: Use the C-Clamp (If Needed)
If the piston remains stuck after heating and cleaning, you can try using the C-clamp again. Apply steady pressure, and the combination of heat and cleaner may have loosened the grip enough to allow the piston to move.
Step 7: Bleed the Brake Line
Once the piston has been retracted or removed, you’ll need to bleed the brake line of any air that might have entered the system. This step requires the addition of new brake fluid and sometimes the help of a friend to apply pressure to the brake lever. This process pushes the fluid through the line, forcing out any air bubbles.
Step 8: Reassemble the Brake Caliper
After successfully dealing with the piston and bleeding the brake line, it’s time to reassemble. Install new brake pads if needed, and carefully reattach the caliper to its rightful place. Secure all the bolts and ensure everything is tight.
Step 9: Test Your Brakes
Before hitting the road, conduct a thorough test of your brakes. This should be done initially with the motorcycle stationary and then in a controlled environment. Ensure there’s no leakage and the brake pressure feels right.
The Bottom Line
Remember, consistently maintaining your motorcycle’s brake system is vital. Regular checks and maintenance can prevent a piston from seizing in the first place. Websites such as Motorcycle Maintenance Tips offer insights into a rigorous routine.
While the process of freeing a seized motorcycle brake caliper piston can involve some elbow grease, the heartening news is that it’s within your grasp to fix. If you find the task daunting or the problem persists, don’t hesitate to reach out to a professional mechanic.
A seized brake caliper piston doesn’t have to end your adventure. With the right approach, patience, and a bit of effort, you’ll find yourself back to enjoying the ride — smoothly and safely.
Remember, the safety of your ride hinges significantly on the condition of your brakes, don’t overlook signs of wear and act swiftly to address them.
Happy and Safe Riding!
Disclaimer: While we strive to deliver accurate and helpful automotive advice, we encourage all readers to exercise caution and consult a professional if they are ever unsure about performing maintenance on their vehicles.

