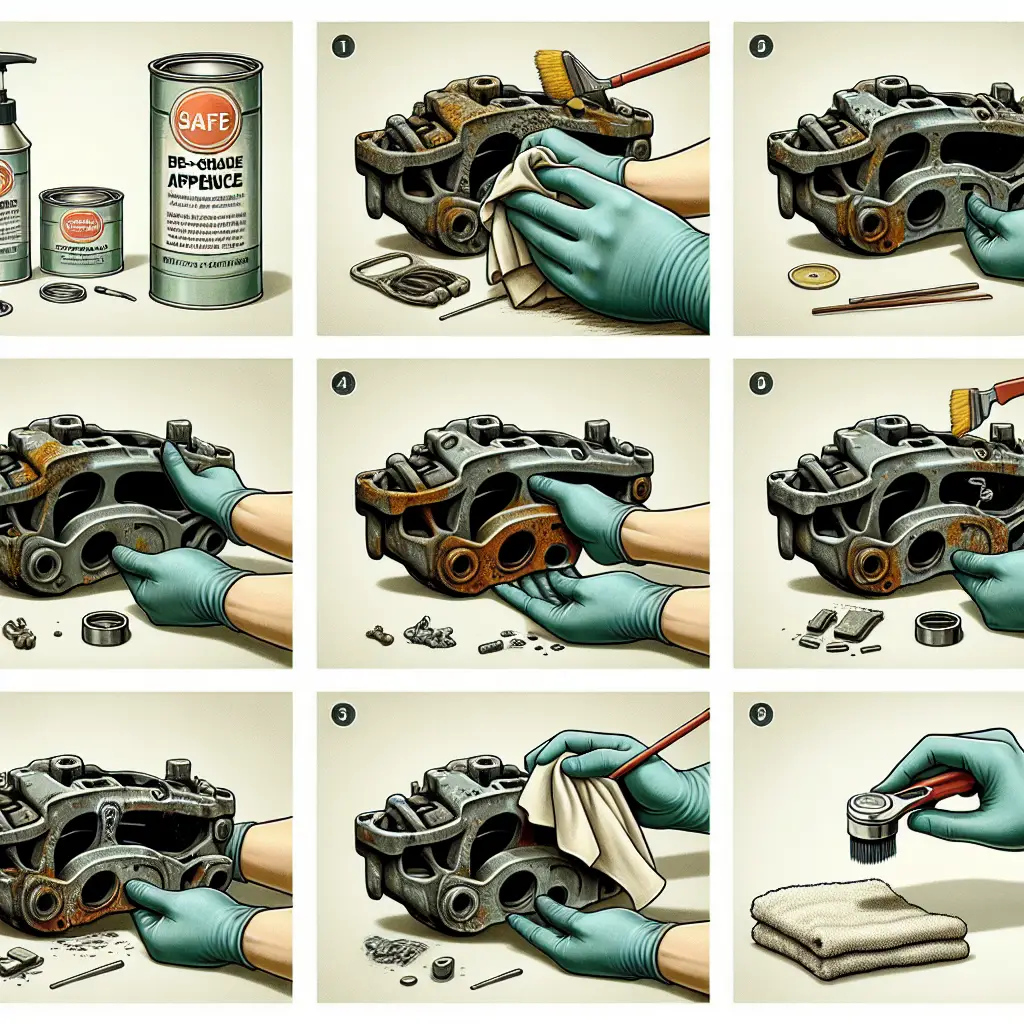
How to Remove Brake Caliper Paint: A Step-by-Step Guide
Brake calipers are not just a crucial component of your braking system; they can also be an eye-catching element of your vehicle’s aesthetic if they’re painted. However, there are times when the paint on your brake calipers begins to crack, fade or you simply want to change the color. Whatever the reason, removing paint from brake calipers can seem daunting, but with the right tools and steps, you’ll have them looking like new in no time.
Understand the Task at Hand
Before we dive in, it’s essential to understand the brake caliper’s function and why maintaining them is critical for your safety. Brake calipers press the brake pads against the rotors to slow or stop your vehicle. Therefore, any work on them, including painting and paint removal, should not compromise their operation. Ensure you’re prepared to spend a few hours on this task to avoid rushing and causing potential damage.
Gather Your Materials
You will need:
- A jack and jack stands
- A lug wrench or impact wrench
- A brake cleaner (WD-40 is a good option)
- Paint stripper (Choose one that’s safe for use on automotive parts, like Aircraft Remover
- Protective gear (gloves, goggles, and a mask)
- Wire brush or wire wheel attachment
- Sandpaper (Various grits)
- Rags and towels
- Masking tape
- A well-ventilated workspace or a respirator mask
Step-by-Step Guide to Removing Brake Caliper Paint
1. Safety First
Begin by ensuring your car is parked on a flat surface and the emergency brake is engaged. Always wear gloves, goggles, and a mask when handling paint stripper and brake cleaner chemicals to protect your skin, eyes, and lungs.
2. Remove the Wheels
Using a jack, raise your vehicle and secure it with jack stands. Then use your lug wrench or impact wrench to remove the wheels, exposing the brake calipers.
3. Pre-Clean the Calipers
Spray the calipers with brake cleaner to remove any surface dirt, grime, or grease. Let it dry completely. This step will help the paint stripper to work more effectively.
4. Apply Paint Stripper
Carefully apply the paint stripper according to the manufacturer’s instructions. Ensure it covers all the painted areas of the caliper. Avoid getting the paint stripper on other parts of the braking system, such as the brake pads or rotor. Mask any vulnerable areas with masking tape if necessary.
5. Let the Stripper Work
Give the stripper adequate time to react with the paint. This could be anywhere from 10 minutes to a few hours depending on the product and the layers of paint.
6. Remove the Paint
Once the paint starts to bubble, use your wire brush or wire wheel attachment to scrape off the loosened paint. Make sure you remove as much paint as possible. Wipe the caliper down with a clean rag to see any areas you may have missed.
7. Sanding
After all the loose paint has been removed, use sandpaper to sand down the caliper for a smooth finish. Start with a coarser grit and work your way to a finer one. Between each sanding, wipe the caliper clean to check your progress.
8. Clean Again
Once you’re satisfied with how smooth the calipers are, use brake cleaner again to remove any remaining paint stripper residue and dust from sanding.
9. Finishing Up
Before reattaching the wheels, ensure your workspace is well-ventilated if you’re continuing with a fresh paint job. If not, you’ll want to let the calipers dry completely before reassembling and lowering your vehicle.
Tips for Success
- Take your time: Rushing this process can lead to missed spots or damage to your brake calipers.
- Be thorough with cleaning: Properly cleaning before applying the paint stripper and after sanding ensures the best results.
- Avoid paint stripper overexposure: Paint stripper is potent and can damage other parts of the car. Be careful with its application, and consider using a brush for more control.
Conclusion
Removing brake caliper paint is a detailed task that requires patience, proper materials, and a commitment to safety. Whether you’re performing this task to simply clean up the calipers or prepare them for a fresh coat of paint, following these steps will help you achieve the best results.
Remember, while this guide aims to equip you with the knowledge to tackle this project, always consult a professional if you’re unsure. Proper maintenance of your vehicle’s braking system is not only about aesthetic but, more importantly, safety.
For further guidance or inspiration on repainting your calipers once you’ve removed the old paint, exploring automotive forums or checking out some DIY videos on YouTube might be helpful.
Remember, handling automotive paint and chemicals correctly contributes to your safety and the longevity of your vehicle. Always prioritize both for a job well done. Happy detailing!

