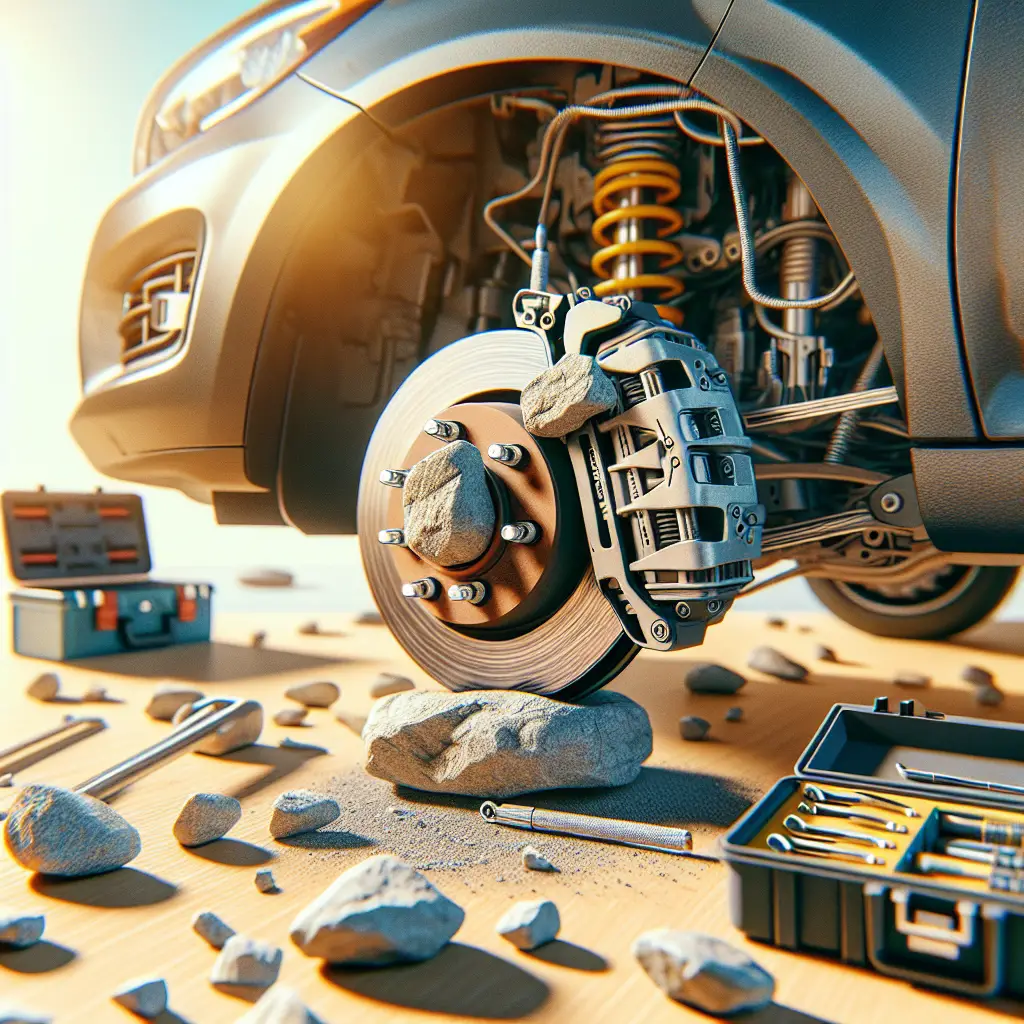
How to Remove a Rock Stuck in Brakes: A Step-by-Step Guide
Have you ever been cruising down the road, enjoying the hum of your engine and the scenery zipping by, only to be jarred by a sudden, unsettling screeching sound emanating from your vehicle? If that sound happens to coincide with the act of braking, it might be due to an unwelcome pebble that has lodged itself in your brake system. Not only is this annoying, but it can also signal a potential risk to your car’s functioning and safety.
In this comprehensive guide, we’ll walk you through how to safely remove a rock from your brakes, alleviating the nerve-wracking noise and ensuring your ride remains smooth and secure.
Prelude: Safety First
Before we dive into the gritty details, it’s imperative that you prioritize your safety:
- Park your car on a flat surface and ensure it won’t roll by engaging the parking brake.
- Wear safety glasses to protect your eyes from brake dust and flying debris.
- Use a pair of mechanic gloves to keep your hands clean and safe from sharp objects.
Step 1: Identify the Affected Wheel
The first order of business is to detect which wheel is emitting the screech. During a drive, if you can discern the general direction of the noise — front or back, left or right — you’ve won half the battle. Once you’ve parked, you can further confirm by checking each wheel for visual signs of a stone or abnormal wear on the brake disc.
Step 2: Loosen the Lug Nuts
Before jacking up the vehicle, loosen the lug nuts on the affected wheel slightly. You’ll want to use a tire iron or a lug wrench for this task. Remember to turn counter-clockwise, and don’t remove the nuts completely — just loosening them will make it easier once the car is lifted.
Step 3: Lift the Car
Using a car jack, lift the vehicle so that the affected wheel is off the ground. Consult your vehicle’s manual to identify the designated jack points and proceed with caution. Once the wheel is airborne, proceed to fully remove the lug nuts and take off the wheel. Consumer Reports offers excellent advice on safely lifting your car.
Step 4: Inspect the Brake Parts
With the wheel removed, you’ll have a clear view of the brake disc, caliper, and pads. Carefully look for the trespassing stone wedged in-between these areas. It’s often lodged between the caliper and the disc or stuck in the caliper itself. Shine a flashlight if necessary for better visibility.
Step 5: Remove the Rock
Once you’ve spotted the culprit, the removal process is relatively straightforward. You can use a flathead screwdriver to gently pry the stone out. You might also find needle-nose pliers helpful if the rock is especially stubborn or situated in a tight space. Exercise patience and care to avoid damaging the brake components.
Step 6: Inspect for Damage
With the pebble ousted, it’s crucial to inspect the brake disc and pads for damage. A pebble can leave scratches or grooves on the disc surface. According to Brake Parts Inc, even minor damage can affect brake performance and might require professional servicing.
Step 7: Reassemble and Test
Once you’re content that the brake parts are damage-free or serviced as needed, it’s time to put the wheel back on. Replace the wheel, screw on the lug nuts by hand initially, lower the vehicle to the ground, and then use the lug wrench to tighten them in a star pattern to ensure even pressure.
Perform a test drive to confirm the noise is gone. Pay attention to the braking response and be prepared to consult a professional mechanic should any issues have been exacerbated by the rock’s temporary habitation.
Final Thoughts
A stone in your vehicle’s brakes is a small issue that, if unaddressed, can lead to bigger problems. By following the steps above, you can remove the offending rock yourself and ensure your vehicle’s brakes are in secure working order. However, if at any point you feel uncomfortable performing these tasks, there’s no shame in seeking assistance from a professional.
Bear in mind, regular vehicle maintenance is key to avoiding such situations, and if you encounter repeated issues, it’s advisable to have a mechanic inspect for underlying problems. For comprehensive brake maintenance tips, the Car Care Council is an excellent resource.
Your brakes are your car’s most important safety feature, so never ignore unusual noises or changes in braking response. Removing a rock is simple in most cases, but staying proactive about your car’s condition is the cornerstone of road safety.
By nourishing your automotive savvy with guides like this, you’re well on your way to ensuring that your journey doesn’t miss a beat – and keeps those unexpected stones at bay. Safe driving!
Disclaimer: The information provided in this article is for educational and informational purposes only and should not be construed as professional automotive advice. Always consult with a qualified mechanic or automotive specialist for specific advice related to your vehicle and circumstances.
Author’s Note: Oh, before I forget, have you ever faced a related issue like water in your brake lines or dust shields rattling against your rotors? Let me know in the comments how you tackled these challenges and keep those wheels turning smoothly!

