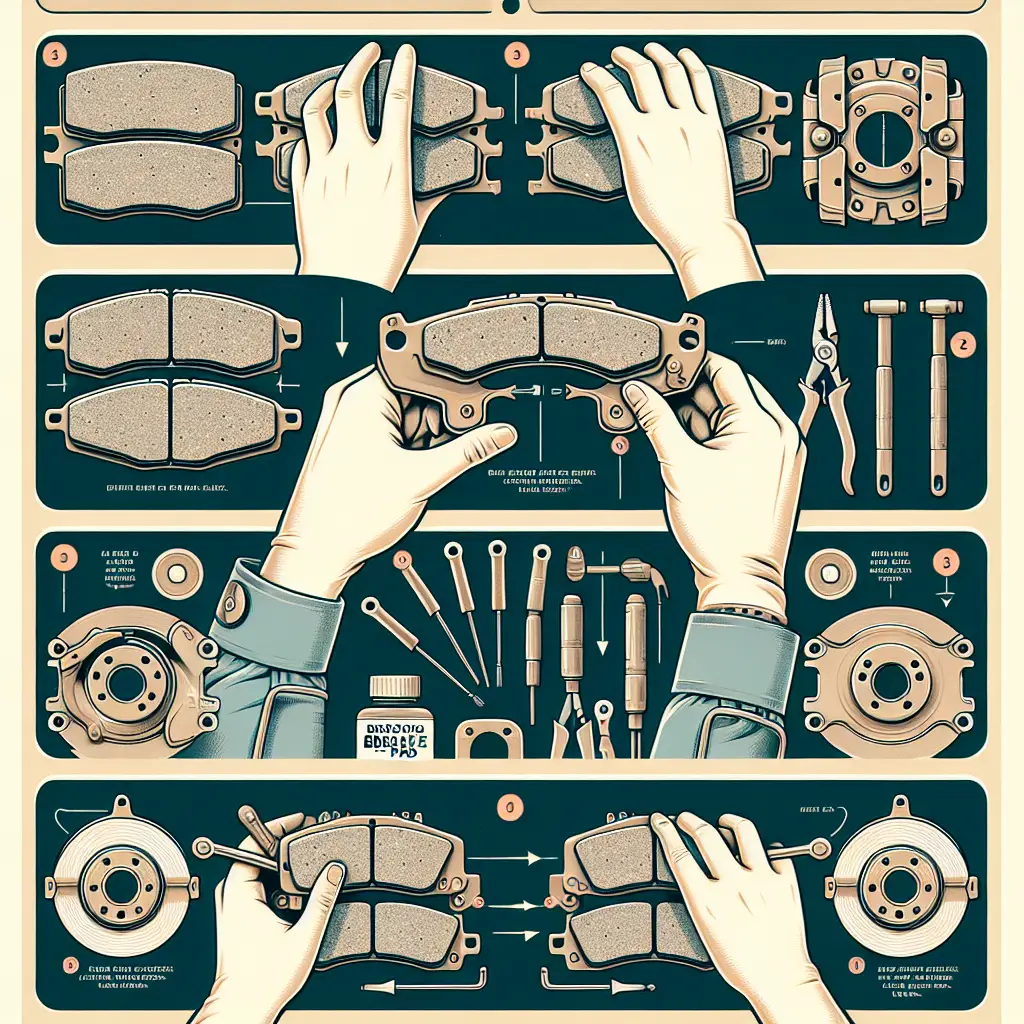
How to Open and Close Brake Pads: A Step-by-Step Guide for Safe Driving
Brakes are undoubtedly one of the most critical components of vehicle safety. Ensuring your brake pads are in good condition can mean the difference between a secure stop and a potential hazard. If you’re a DIY enthusiast or just looking to understand your car better, knowing how to open and close brake pads is a valuable skill.
From seasoned mechanics to new drivers, the world of automotive care can be overwhelming. But fear not! In this guide, I’ll walk you through the process, explaining the tools you need and the steps to follow to ensure your brakes remain in optimal working order.
What You’ll Need:
- Car jack and jack stands
- Lug wrench
- Socket set
- C-clamp or brake pad spreader
- High-temperature automotive grease
- Gloves and safety goggles
Before we get started, make sure you understand your vehicle’s specific brake system. Reference your car’s manual or find information from reliable sources such as the Car Care Council or AutoZone’s Repair Guides.
Step-by-Step Guide to Opening Brake Pads
Step 1: Safety First
Start by parking your car on a flat surface, applying the parking brake, and placing wheel chocks around the tires that won’t be lifted. Safety goggles and gloves should be worn to protect against brake dust and debris.
Step 2: Loosen the Lug Nuts
Before lifting the vehicle, loosen the lug nuts on the wheel of the brake you’re servicing but don’t remove them entirely. This ensures easier removal once the car is jacked up.
Step 3: Lift the Vehicle
Using the car jack, lift your vehicle and secure it with jack stands. Remember: safety is paramount, so ensure the car is stable before any work begins.
Step 4: Remove the Wheels
Now you can remove the loosened lug nuts and take off the wheels, granting access to the brake calipers.
Step 5: Remove the Caliper Bolts
Use your socket set to remove the bolts holding the caliper in place. In some vehicles, there may be a clip or a cotter pin that needs removal first.
Step 6: Open the Brake Caliper
Gently slide the caliper off the brake rotor. It’s important not to let the caliper hang by the brake line, as this can cause damage. Secure it with a bungee cord or set it on something like a small box or a brick.
Step-by-Step Guide to Closing Brake Pads
Step 1: Retract the Caliper Piston
Now, using a C-clamp or a brake pad spreader, carefully push the caliper piston back into the caliper housing. This step is essential to make room for the new, thicker brake pads.
Step 2: Apply Grease
Add a thin layer of high-temperature automotive grease to the back of the new brake pads. This can help to prevent squeaking.
Step 3: Install the New Brake Pads
Place the new brake pads into the caliper bracket. Make sure they are seated correctly and evenly.
Step 4: Reinstall the Brake Caliper
Slide the caliper with the new pads over the rotor, ensuring it fits snugly.
Step 5: Secure the Caliper Bolts
Once everything is aligned, replace the caliper bolts and tighten them. Ensure they are secure, but be careful not to overtighten as this could strip the threads.
Step 6: Replace the Wheel
After the calipers are secure, it’s time to put the wheels back on. Place the wheel onto the wheel studs and screw on the lug nuts by hand first to ensure they’re not cross-threaded.
Step 7: Lower the Vehicle
Carefully lower your vehicle back onto the ground and then tighten the lug nuts with the lug wrench. It’s important to tighten them in a “star” or criss-cross pattern to ensure they are evenly tightened.
Step 8: Test the Brakes
Before driving, press the brake pedal multiple times to ensure the brake pads engage with the wheels. This is known as “seating” the brake pads. Then, take your vehicle for a slow test drive in an empty parking lot or similarly safe area to make sure the brakes are working correctly.
Tips and Warnings:
- Always refer to your manufacturer’s guide for specific instructions related to your vehicle.
- Brake fluid is corrosive; avoid getting it on any part of the vehicle.
- Dispose of old brake pads properly; some auto part stores offer recycling services.
By following these steps diligently and with caution, you’re ensuring a sound set of brakes that’ll keep you safe on the road. Remember that while DIY repairs can be rewarding and cost-saving, it’s always best to consult with a professional mechanic if you’re unsure about any part of the process. Websites such as MotorTrend provide excellent resources and advice from professionals.
In conclusion, understanding how to properly open and close your brake pads is not only a useful skill but also a crucial one for maintaining the safety of your vehicle. With regular checks and proper maintenance, you can ensure your brakes are always in top condition. Stay safe out there, and happy driving!

