How to Get Brake Caliper Piston Back In: A Step-by-Step Guide
Brake maintenance is a critical aspect of vehicle safety. One of the most challenging tasks that many vehicle owners face is resetting a brake caliper piston. It’s an important skill to have, as your brake caliper pistons must be retracted when you’re changing your brake pads. In this blog post, we’ll walk you through the process of getting your brake caliper piston back in safely and efficiently.
Before we dive in, let’s understand why this is important. The brake caliper piston applies pressure to the brake pads, which in turn contact the rotor to slow down your vehicle. Over time, as your brake pads wear out, the piston extends further from the caliper housing. When you install new, thicker pads, you must reset the piston back to its starting position.
Tools You Will Need:
- Car jack and jack stands
- Lug wrench
- C-clamp or brake caliper tool
- Proper brake fluid
- Gloves and safety glasses
Step-by-Step Guide
Step 1: Safety First
Ensure your car is parked on a level surface with the parking brake engaged. Place wheel chocks behind the wheels for added security. Wear gloves and safety glasses to protect yourself from brake dust and other debris.
Step 2: Remove the Wheel
Loosen the lug nuts slightly with your lug wrench while the car is still on the ground. Then, use the car jack to lift the vehicle until the wheel is off the ground. Secure it with jack stands. Finish removing the lug nuts and take the wheel off.
Step 3: Open the Master Cylinder
Before compressing the caliper piston, remove the cap from the master cylinder reservoir to allow brake fluid to move back into the reservoir as the piston retracts. It’s a good idea to have a rag close by to clean any spills.
Step 4: Compress the Caliper Piston
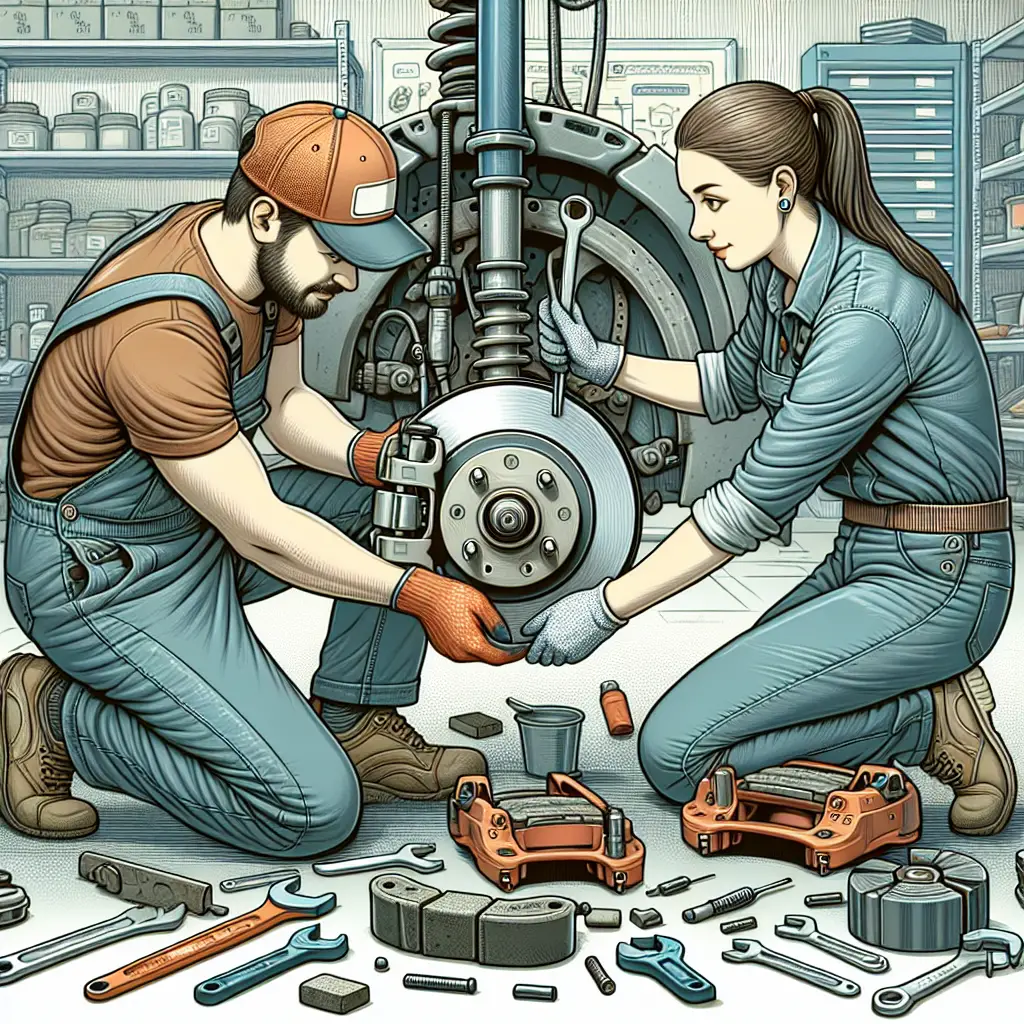
Using a C-clamp or a dedicated brake caliper tool, place the clamp’s end against the caliper piston. Turn the clamp slowly to press the piston back into the caliper housing. Proceed gradually to avoid damage to the piston or caliper.
Step 5: Check Brake Fluid Levels
As the piston compresses, brake fluid will return to the master cylinder. Monitor the brake fluid level to ensure it doesn’t overflow. If necessary, remove some fluid with a syringe or turkey baster dedicated to this purpose.
Step 6: Reassembly
Once the piston is fully compressed, you can replace the brake pads as needed and reassemble the caliper. Ensure everything is fitted correctly and the caliper bolts are tightened to the manufacturer’s specification.
Step 7: Bleed the Brakes (If Required)
Sometimes, pushing the piston back can introduce air into the system. If you suspect air has entered, you will need to bleed your brakes to ensure there are no air bubbles in the brake lines.
Step 8: Reinstall the Wheel
Place the wheel back onto the wheel hub and screw on the lug nuts by hand first to ensure they’re not cross-threaded. Lower the vehicle from the jack stands using the car jack and then tighten the lug nuts with the lug wrench.
Step 9: Test Your Brakes
Before driving, press the brake pedal several times to seat the brake pads against the rotors. The first few pedal presses may feel soft because the piston is moving out to engage the new pads.
Troubleshooting Common Issues
If you find that the piston won’t retract, there are a few potential reasons:
– Twist-back pistons: Some vehicles have pistons that must be rotated as they are compressed. Special tools are required for these types of calipers.
– Clogged brake lines or a faulty master cylinder: This could prevent the backflow of brake fluid and the retraction of the piston.
– Damaged caliper: If the piston is damaged or the caliper is jammed, you may need a replacement.
How to Avoid Potential Mistakes
- Do not force the piston: If it won’t retract with moderate pressure, investigate the cause rather than applying more force.
- Use the correct tools: A C-clamp will work, but a brake caliper tool can make the job easier and reduce the risk of damage.
- Keep a close eye on the brake fluid reservoir throughout the process to prevent spills.
Conclusion
Getting the brake caliper piston back in can seem daunting, but by following these steps, you can complete the task with confidence. Remember, brakes are a critical safety system on your vehicle, so if you’re ever in doubt, consult with a professional mechanic. Proper brake maintenance is essential not just for your safety, but also for the longevity of your vehicle.
Additional Resources
For further reading on brake maintenance and the role of the caliper piston, the following sources offer in-depth information:
– Brake Caliper Function: The National Institute for Automotive Service Excellence (ASE) provides insight on brake system components and function.
– Car Brake Maintenance Tips: Car and Driver offer expert advice on keeping your braking system in top shape.
With this knowledge and the right approach, you’re well equipped to handle your brake caliper piston maintenance. Keeping your vehicle’s brakes in working order is crucial for a safe and smooth driving experience, and now you’re ready to take that task head-on. Happy braking!

