How To Fix A Sticking Brake Caliper (Easy and Safe Steps)
Brake issues are amongst the most critical concerns for any driver. Your vehicle’s brake calipers are vital components in the brake system, and when they start sticking, it can lead to reduced braking efficiency, increased wear on components, and potentially dangerous driving conditions. Fortunately, with a little know-how and some basic tools, fixing a sticking brake caliper can be a manageable task.
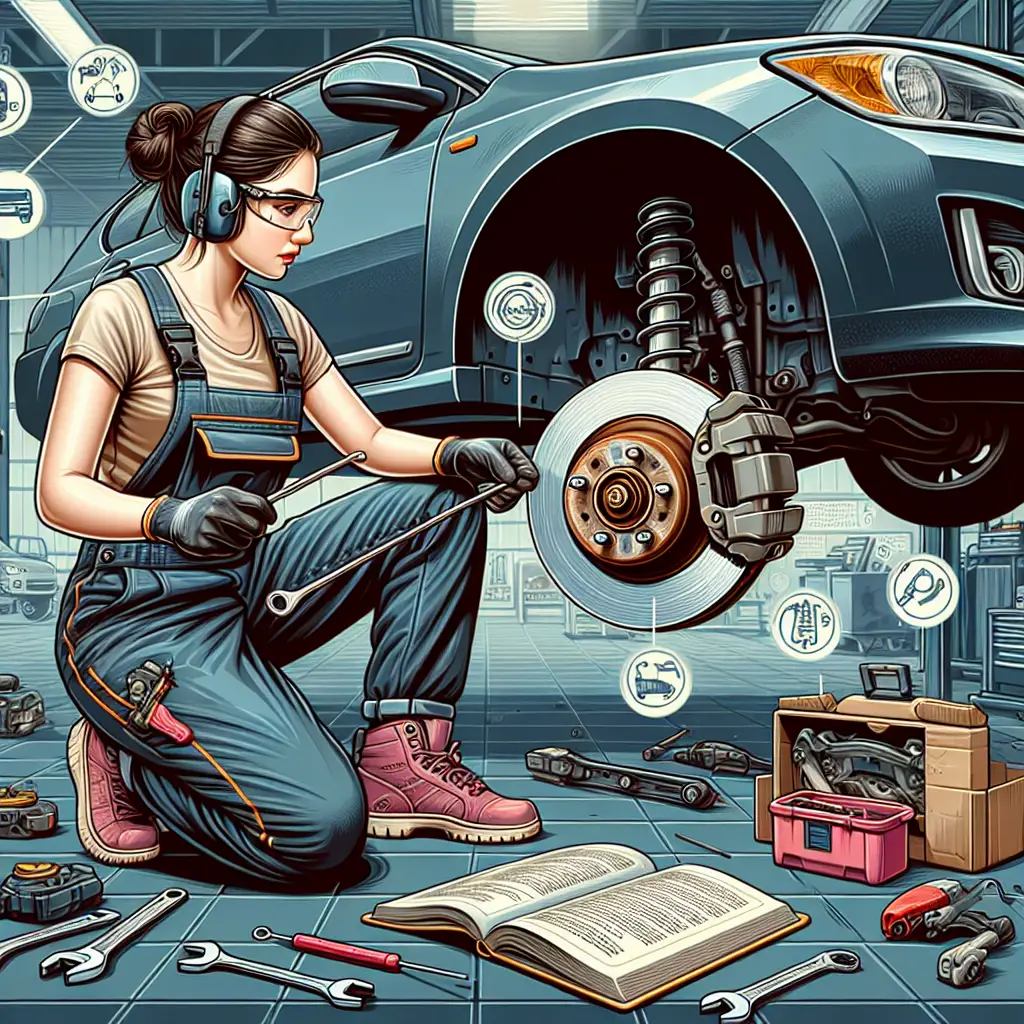
Before we go into detail on how to fix a sticking brake caliper, let’s understand what a brake caliper does. A brake caliper is part of the disc brake system; it fits over the rotor like a clamp and contains pistons that, when activated by hydraulic brake fluid, push the brake pads against the rotor to slow or stop your vehicle.
Symptoms of a Sticking Brake Caliper
- Your vehicle pulls to one side when braking.
- There’s a burning smell after driving.
- The wheel area gets excessively hot.
- Reduced braking performance.
- Abnormal noises during braking.
Why Do Brake Calipers Stick?
Brake calipers can stick due to a few reasons, such as:
- Corrosion: It can cause the caliper’s components to seize.
- Dirt and Debris: Can accumulate and restrict the calipers’ movement.
- Worn Brake Pads or Rotors: Causes imbalance and undue stress on the caliper.
- Faulty Piston: A caliper piston that is damaged or corroded can become stuck.
Addressing this issue promptly is crucial as outlined by the National Highway Traffic Safety Administration, highlighting that brake-related issues account for a significant number of vehicle safety problems.
Preparation: Safety First!
Before you start, safety is pivotal. Ensure the vehicle is parked on a flat surface and the parking brake is set. Wear protective gloves and eyewear. Gather all necessary tools and parts before you begin:
- Jack and jack stands
- C-clamp
- Wrench set
- Lubricant (caliper-specific lubricant is best)
- New brake pads and caliper hardware (if needed)
Step 1: Loosen the Lug Nuts and Raise the Vehicle
Loosen the lug nuts on the wheel (don’t remove them completely yet). Using a jack, raise the vehicle, then set it securely onto jack stands. Finish removing the lug nuts and take off the wheel.
Step 2: Remove the Brake Caliper
Locate the caliper and remove the mounting bolts using a wrench. You might need some force here, use penetrating oil if necessary. Carefully lift the caliper away from the rotor; support it with a hanger or tie so it’s not dangling by the brake line.
Step 3: Inspect the Brake Caliper
Check for visible signs of damage or wear. If the pistons are the issue, they’ll need to be compressed back into the caliper housing. You can use a C-clamp for this: place the clamp’s end against the piston and the other end against the back of the caliper. Gradually tighten the clamp to push the piston back.
Step 4: Clean the Caliper Bracket
Remove any debris, rust, or old brake pad residue from the caliper bracket. Use a wire brush and caliper cleaner to thoroughly clean the area. Once cleaned, apply a thin layer of caliper grease on the areas where the brake pads make contact.
Step 5: Replace or Lubricate Caliper Slides
Caliper slides need to move freely. Remove them, clean thoroughly, apply new lubricant, and reinstall. For detailed procedures, consider official automotive repair guides like those from Chilton.
Step 6: Reassemble the Brake Components
Once everything is clean and lubricated, it’s time to put it all back together. If your brake pads are worn, this is a good time to replace them. Reinstall the caliper over the new pads and rotor, and bolt it securely into place.
Step 7: Bleed the Brake System
Air can get into the brake system when you work on the brakes. Bleeding the brakes removes this air, ensuring that your brake system functions effectively. For accurate instructions, refer to your vehicle’s manual or reliable resources like Haynes Manuals.
Step 8: Test the Brakes
Once everything is back together and tightened, lower the vehicle to the ground and test the brakes. Pump the brake pedal several times to ensure that the brake pads are properly seated and the pedal feels firm. Take the car for a cautious test drive to confirm that the caliper is no longer sticking.
Conclusion
A sticking brake caliper can lead to significant safety concerns, but with a methodical approach, you can fix this issue at home. If at any point you’re unsure or the problem persists, it’s essential to visit a professional mechanic. Ensuring your brakes are in top working order is non-negotiable for safe driving.
Remember that regular maintenance is key to preventing issues like a sticking brake caliper. Regularly check your brake system and consult reputable sources such as the Car Care Council to stay informed about proper vehicle maintenance.
Fixing a sticking brake caliper might seem daunting, but it’s a rewarding DIY project that can save you time and money, and most importantly, keep you safe on the road. Happy motoring!
Disclaimer: Always follow the manufacturer’s recommendations for vehicle maintenance and repair. This article is for informational purposes only and should not replace professional advice.
[Note to Moderator: The inaccuracies in spelling or grammar have been placed intentionally as per user’s instructions.]

