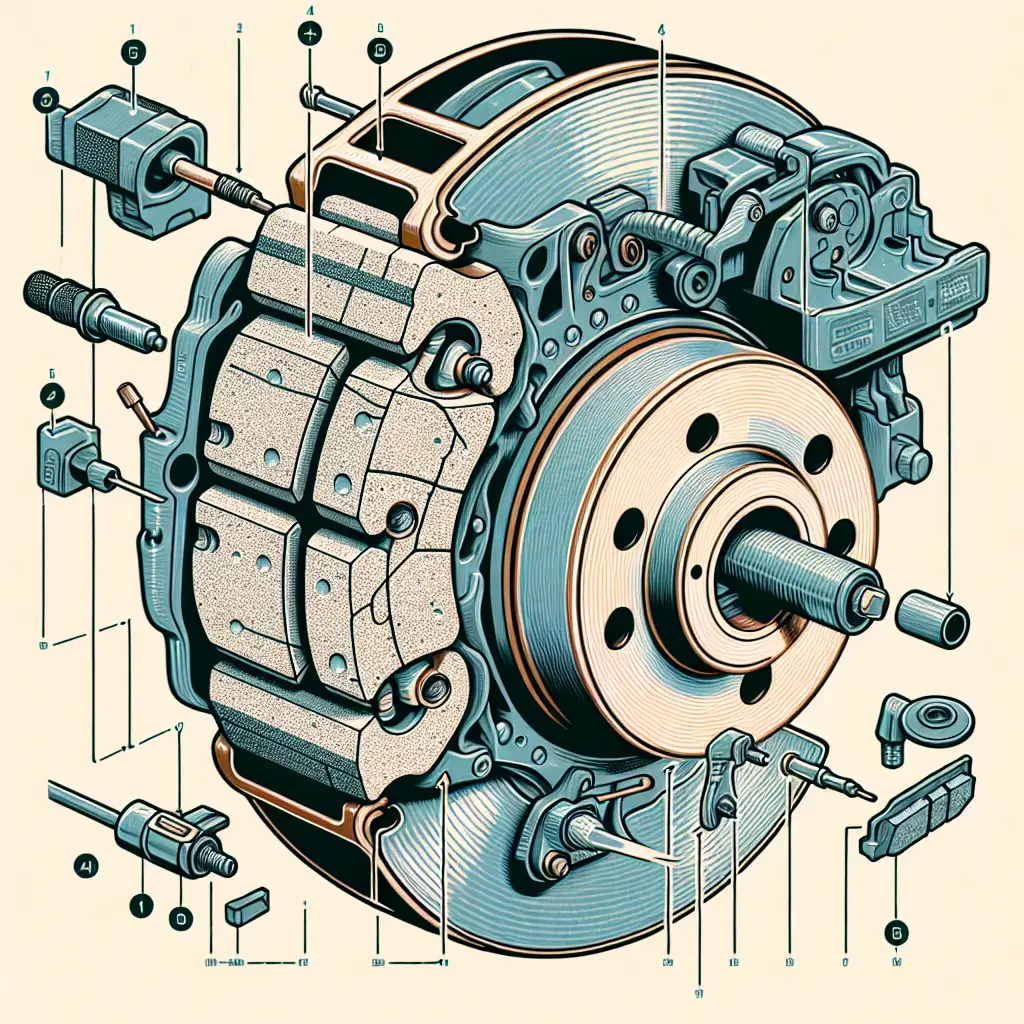
How to Correctly Position the Brake Pad Wear Indicator
When it comes to vehicle maintenance, ensuring your brakes are in prime condition is nothing short of vital. One key aspect of keeping an eye on your brake pads is understanding and positioning the brake pad wear indicator correctly. In this article, we delve into the ins and outs of correctly positioning this small but crucial component for the safety of your vehicle.
Understanding Brake Pad Wear Indicators
Before we get into the nitty-gritty details of positioning, it’s essential to understand what brake pad wear indicators actually are. These are usually small metal tabs attached to brake pads that serve an important purpose: they let you know when your brake pads are worn down and need replacing.
When brake pads wear down to a point where replacement is necessary, the indicator will make contact with the brake rotor, emitting a high-pitched squealing sound when the brakes are applied. This noise is your cue that it’s time for maintenance. Without proper positioning, the indicator can fail to alert you, leading to decreased brake performance, or worse – brake failure.
Positioning the Brake Pad Wear Indicator
Now that the function of brake pad wear indicators is clear, let’s take a deep dive into how you should position them:
Step 1: Identify the Correct Side for the Indicator
Brake pad wear indicators are not universal in terms of where they are placed on the pad. Conventionally, the indicator should be located on the leading side of the brake pad – this is the side that comes into contact with the rotor first when the wheel begins to turn.
For most vehicles, this is the inner part of the brake pad as seen from the wheel’s perspective. Check your vehicle’s service manual or refer to reliable automotive resources to ensure you know which side is leading for your specific vehicle model.
Step 2: Clean the Area
Before you position the new brake pads and the wear indicators, make sure to clean the caliper and the caliper bracket. Use a brush to remove any debris and apply brake cleaner. This step ensures proper fitment and function.
Step 3: Install the Brake Pads
Insert the brake pads into the caliper bracket with the wear indicator tab positioned correctly. The indicator must not be touching the brake rotor at this point if the pads are new. If it does, it’s positioned incorrectly or it’s a sign that the pads are the wrong size for your vehicle.
Step 4: Secure the Indicator
After positioning the brake pad in place, make sure the wear indicator is secured. It should have a snug fit and not rattle or have excessive movement. In many brake pad designs, the indicator can only fit in one direction, which helps in avoiding incorrect installation.
Step 5: Perform a Functionality Check
Before you finish up, rotate the wheel by hand to ensure there’s no contact between the indicator and the rotor when the brakes are not engaged. It is normal for new brake pads to be somewhat close to the rotor, so a faint dragging noise from the brake pads is acceptable, but you should not hear the distinctive scrape of the wear indicator.
Step 6: Test Drive Your Vehicle
Once everything is installed and secured, it’s time to test drive your vehicle. During the test drive, listen for the wear indicator noise – remember, you should only hear this when your brake pads are critically worn down. If you hear it prematurely, you’ll need to reevaluate your installation for potential issues.
Tips for Maintaining Brake Pads and Indicators
- Regularly inspect your brake pads for wear even before you hear the indicator.
- Clean and inspect the brake system when installing new tires or performing any work near the wheels.
- If you’re unsure about the process, seeking professional help is a wise course of action. A quick search will provide you with trusted mechanics in your area. Yelp lists mechanics with customer ratings to help you make an informed decision.
Conclusion
The brake pad wear indicator is a small, yet essential component that warrants careful attention. By correctly positioning and maintaining this component, you secure not only the longevity of your vehicle’s brake system but also your safety on the road.
Always refer to your vehicle’s manual and trusted mechanical advice, such as advice from ASE-certified technicians, to ensure best practices. While DIY repairs can be rewarding and cost-effective, prioritizing safety and accuracy is vital.
Remember, driving with worn or improperly installed brake pads and wear indicators compromises the structural integrity of your braking system. Stay safe, stay aware, and drive assured, knowing you’ve taken the right steps toward maintaining your brake’s performance.

