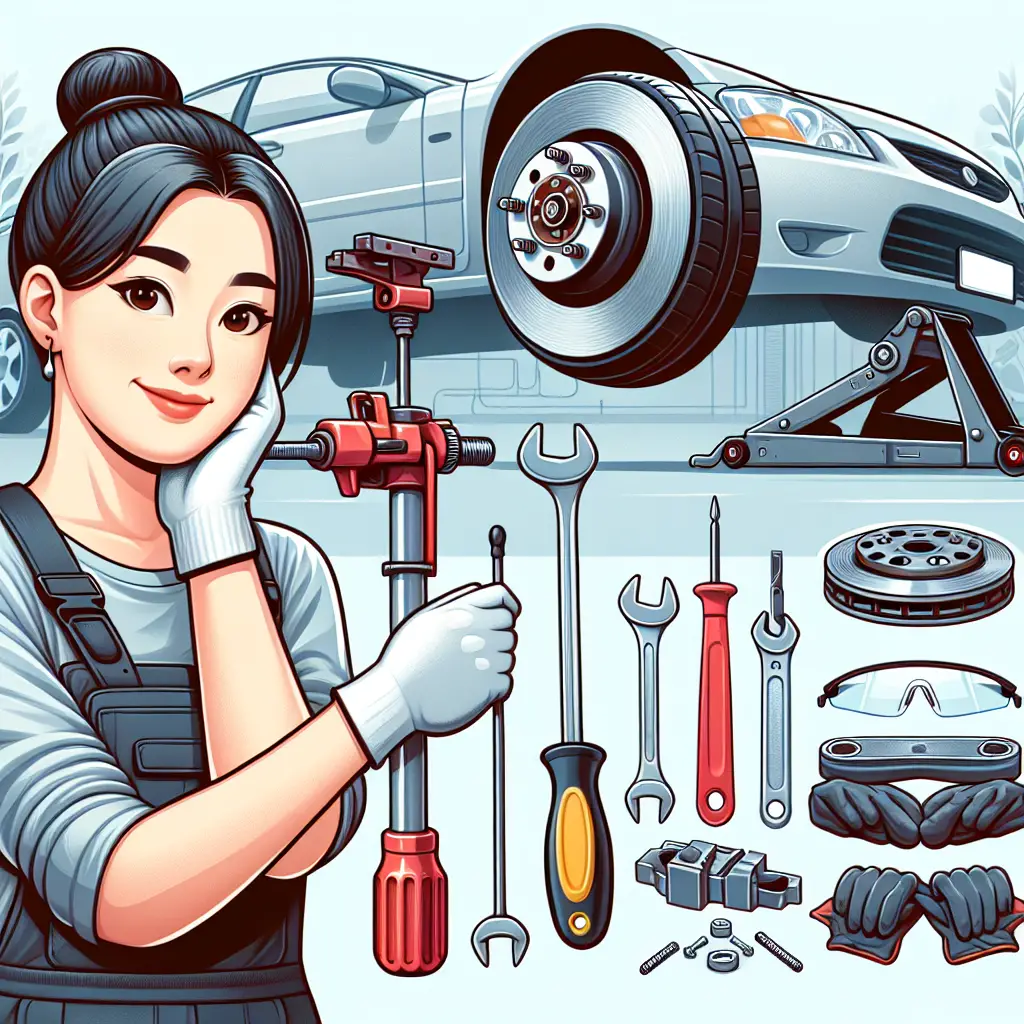
How to Change Brakes Without a C-Clamp
Brake maintenance is an indispensable part of vehicle upkeep that no driver should overlook. Whether you’re a seasoned mechanic or a determined DIY enthusiast, knowing how to change your car’s brakes is a vital skill. Typically, a C-clamp is used to compress the brake caliper piston—a necessary step in the process. But what do you do if you don’t have a C-clamp handy? In this guide, we’ll walk you through the steps to successfully change your brakes without this common tool.
Understanding Brake Components
Before we delve into the nitty-gritty, it’s crucial to familiarize yourself with the brake system’s main components. The brake caliper, brake pads, and brake rotor work together to halt your car. Without proper maintenance, your safety on the road may be compromised. The National Highway Traffic Safety Administration provides extensive resources and emphasizes the importance of regular brake checks.
Preparing for the Job
Safety first – always ensure your car is parked on a flat surface and the emergency brake is engaged. Gather your necessary tools: a jack, jack stands, a lug wrench, and the replacement brake pads. Instead of a C-clamp, you will need a tool to compress the caliper piston, such as a caliper compression tool or even a pair of channel-lock pliers.
Step-by-Step Guide
Step 1: Loosen the Lug Nuts
Begin by slightly loosening the lug nuts on your wheel before lifting your car. This initial step is easier while the wheel is grounded and helps deter the wheel from spinning later on.
Step 2: Lift Your Car
Now, safely lift your car using the jack and secure it with the jack stands for added stability. With the car lifted, remove the lug nuts completely and take off the wheel to expose the brake assembly.
Step 3: Remove the Brake Caliper
Carefully remove the bolts holding the brake caliper in place. Once they are removed, lift the caliper from the brake rotor. Be sure to support the caliper securely so that the brake line is not stressed or damaged.
Step 4: Compress the Caliper Piston
This step usually requires a C-clamp, but in its absence, you can use a caliper compression tool or carefully utilize the channel-lock pliers. If using pliers, carefully apply even pressure to the piston back into the caliper housing. Ensure you do not damage the piston or caliper surfaces as this could lead to brake malfunction.
Expert Tip: Before compressing the piston, check the brake fluid reservoir. Compressing the piston will cause brake fluid to rise in the reservoir, which sometimes may overflow. Remove some fluid if needed using a turkey baster dedicated for this purpose. Be sure to handle brake fluid carefully, as it can damage car paint and is hazardous if ingested.
Step 5: Replace the Brake Pads
Now onto the main event – replacing the brake pads. Remove the old brake pads and fit the new ones in the same position. If there’s a lot of brake dust, it might be a good idea to wear a mask or use a brake cleaner. Make sure that any shims or clips that are reusable are transferred to the new pads if they are not already included.
Step 6: Reassemble the Brake Assembly
Before you put the caliper back on, compare the old brake pads with the new ones to ensure you’ve got the correct size and shape. After confirming, you can reposition the caliper over the new brake pads and rotor, ensuring it fits snugly. Then, bolt the caliper back into place securely.
Step 7: Replace the Wheel and Lower the Car
Replace the wheel and screw the lug nuts on by hand at first to ensure proper thread alignment. Then, lower the car until the wheel touches the ground and finish tightening the lug nuts with the lug wrench. It’s important to tighten them in a crisscross pattern for uniform distribution of pressure.
Step 8: Test Your Brakes
Finally, before going for a test drive, pump the brake pedal several times to set the new pads against the rotor. It’s normal for the pedal to have extra travel on the first few pumps after changing the pads.
Once you’ve confirmed that the brake pedal feels right, go for a careful test drive to make sure everything is working correctly. Remember to break in your new brake pads according to the manufacturer’s instructions. As highlighted by Car and Driver, proper bedding-in of brakes can significantly improve your braking performance.
Conclusion
Changing your brakes without a C-clamp is entirely feasible with the right approach and tools. While a C-clamp can make the process smoother, using a caliper compression tool or channel-lock pliers can also achieve the necessary piston compression.
If you ever find yourself hesitant to perform brake maintenance on your own, seeking professional help is always the safest option. Websites like YourMechanic allow you to hire a certified mechanic who will come to your home or office to service your car. Don’t compromise on your safety – ensure your brakes are always in top condition.
By taking the time to understand and apply these steps, you can successfully maintain your vehicle’s brakes, ensuring your safety and those around you on the road. Your confidence as a DIY mechanic will grow with each task you accomplish, and soon enough, you’ll tackle even the most daunting car repairs with poise and assurance.

