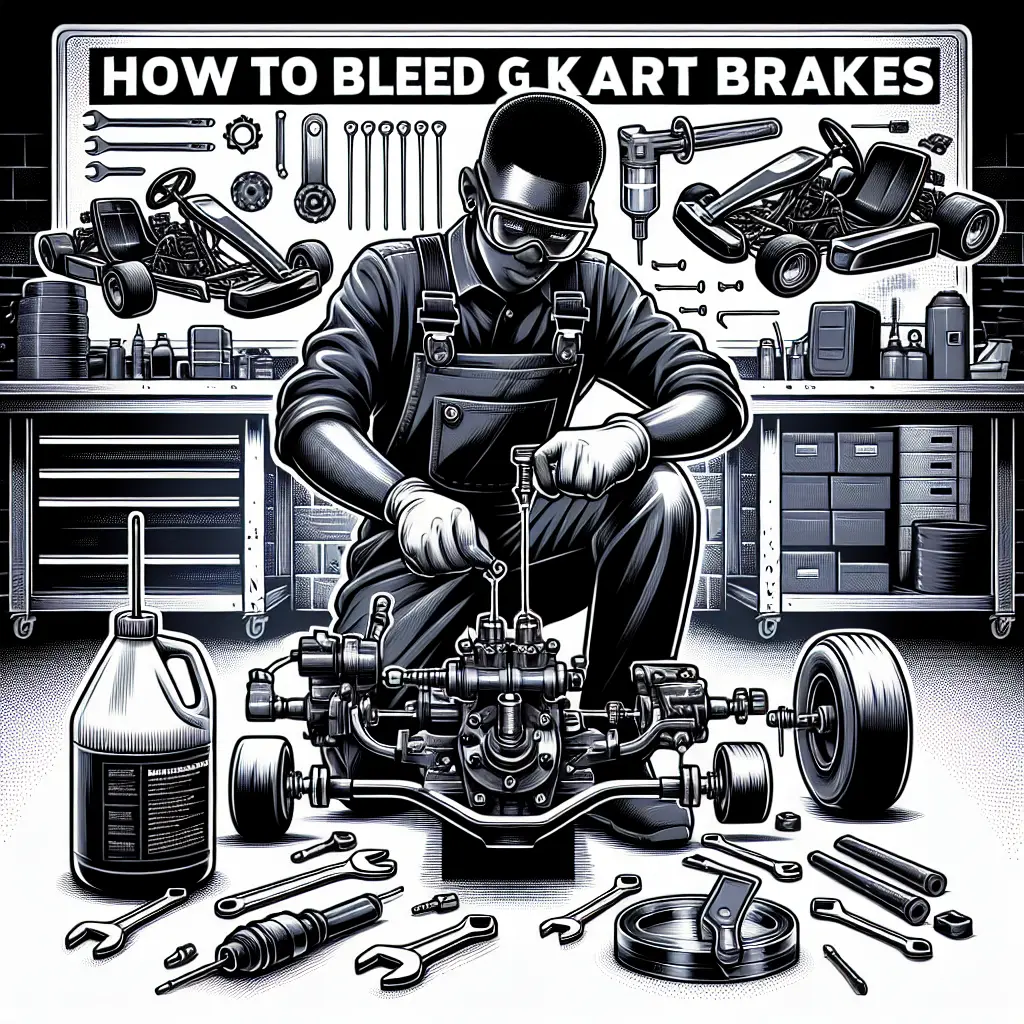
How to Bleed Go-Kart Brakes: A Step-by-Step Guide for Superior Stopping Power
Go-karting is an exhilarating sport that combines excitement and engineering. And when it comes to engineering, one of the most crucial aspects not to overlook are the brakes. Over time, the brake lines can accumulate air bubbles which reduce efficiency and responsiveness. This makes it imperative to learn how to properly bleed go-kart brakes, not only for optimal performance but also for safety.
In this blog post, we’ll walk you through the nuances of bleeding your go-kart’s braking system. Remember, proper brake maintenance will not only improve your lap times but also ensure a safer riding experience.
Why Bleed Your Brakes?
Air in the brake system can cause a spongy brake pedal, resulting in decreased brake performance. Since brake systems rely on a hydraulic fluid that cannot be compressed, any air in this system can be detrimental to its operation. Bleeding your brakes effectively removes these air pockets, restoring your system’s integrity and brake feel.
Tools Required:
- Wrench set
- Brake Bleeder kit or a Plastic tube and a clear bottle
- Fresh go-kart brake fluid
- A helper (optional, but recommended for ease of bleeding)
- Rags for cleaning spills
Step 1: Prepare Your Go-Kart
Before you begin, ensure your kart is on a level surface and that the engine is off and cool. Secure the kart so it doesn’t move during the process. This is critical, as safety should always be your top priority when performing maintenance.
Step 2: Locate the Brake Bleeder Valve
Consult your go-kart’s manual to locate the brake bleeder valve. This is usually found on the brake caliper. Once located, clean any dirt or grime from around the bleeder to prevent contamination of the brake system.
Step 3: Attach the Bleeding Kit
The brake bleeder kit often consists of a hose and a bottle. Attach the hose to the bleeder valve on the caliper, ensuring a tight fit to prevent air from entering. Place the other end of the hose into a collection bottle; this is where the old brake fluid and air will go.
Step 4: Fill the Master Cylinder
Check the level of brake fluid in the master cylinder, filling it with fresh fluid if necessary. It’s crucial always to use new fluid, as brake fluid is hygroscopic (it absorbs moisture) and old fluid can drastically reduce braking performance. According to Car and Driver, neglecting this aspect of brake maintenance can lead to water contamination, which lowers the fluid’s boiling point and causes brake fade.
Step 5: Begin Bleeding the Brakes
This is where the help of a friend can come in handy. Have your helper press down on the brake pedal to create pressure in the system. While they’re holding the pedal down, open the bleeder valve slightly. You should see the brake fluid (and potentially air bubbles) flow out into the collection hose. When the flow stops, close the valve.
Caution: Do not let the brake pedal be pushed to the floor as it can damage the master cylinder. Rather, press the pedal three-quarters of the way down.
Step 6: Repeat the Process
Have your helper release the brake pedal, then press it down again and hold. Open and close the bleeder valve as before, watching for more air bubbles exiting the system. Keep an eye on the brake fluid level in the master cylinder throughout this process, ensuring that it never runs low, or air will be reintroduced to the system.
Step 7: Check Brake Pressure
After several repetitions and no more air bubbles are present, check the brake pedal for firmness. It should feel solid and not spongy. If it’s still not right, you may need to repeat the bleeding process until the desired pedal feel is achieved.
Step 8: Finalize the Procedure
Once satisfied with the brake pressure, close the bleed valve one final time, ensuring it’s tight but do not over-tighten. Remove the brake bleeder kit carefully, ensuring no fluid spills. Top up the brake fluid in the master cylinder if necessary, then replace the cap securely. Clean up any spilled fluid immediately, as it can be corrosive.
Testing
After the brakes have been bled, it’s time for a test. Slowly drive the kart on flat ground, testing the brakes for responsiveness. If all steps were performed correctly, the brakes should feel firm and respond promptly to pressure. Always test in a safe environment.
In Conclusion
Braking issues on go-karts can range from merely inconvenient to seriously dangerous. By ensuring a well-maintained brake system, you can increase both your safety and your competitiveness on the track. Regular maintenance, such as bleeding the brakes, should be part of every go-karter’s routine.
Knowing how to bleed go-kart brakes can elevate your confidence both in and out of the race track. However, it’s critical to remember that if you’re uncomfortable performing this maintenance yourself or encounter issues beyond basic air bubbles in the line, do not hesitate to seek professional help.
Safety is never a place to cut corners. The National Highway Traffic Safety Administration also underscores the importance of proper brake maintenance in vehicle safety. So take the time, do the job right, and enjoy the improved performance and safety of your go-kart.
Are you ready to hit the track with confidence in your freshly serviced go-kart? Share your experience with our community in the comment section or on our social media channels. Keep racing and stay safe!

