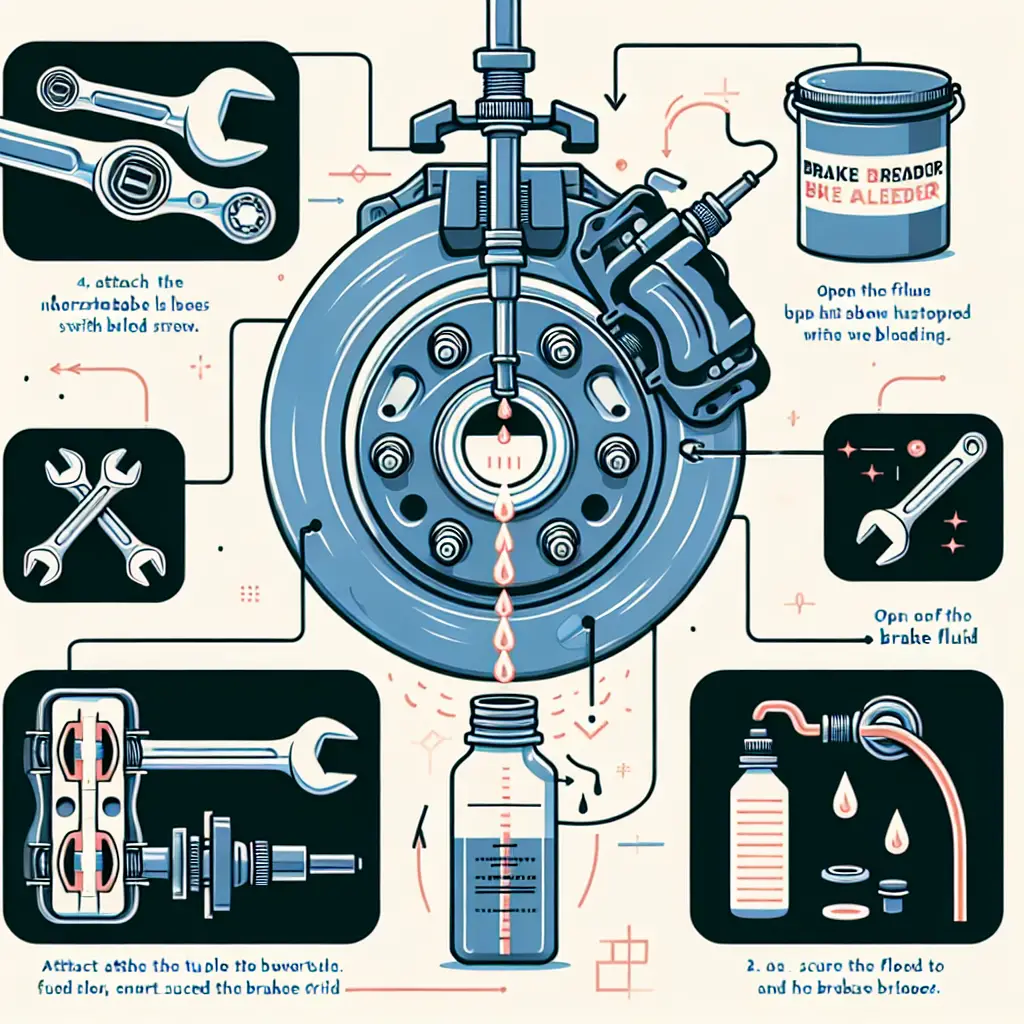
How to Bleed Calipers with Two Bleeders: Your Step-by-Step Guide
When you’re tackling the maintenance of your car’s braking system, you may come across a crucial but somewhat perplexing task – bleeding calipers which come with two bleeders. Understanding how to properly bleed these dual bleeder calipers is key to ensuring your brakes function at their best and to prevent any potential safety issues. In this article, we’ll guide you through the steps needed to bleed calipers with two bleeders effectively, along with some best practices to keep in mind.
Introduction to Brake Bleeding
Brake bleeding is the process of removing air bubbles from the brake lines of your vehicle. Air in the braking system can lead to a spongy brake pedal and reduced braking efficiency, which can be dangerous. Most vehicles have one bleeder valve per caliper, but some have two to ensure complete removal of all the air.
Before we dive into the specifics, let’s understand why some calipers have two bleeders. Calipers are designed with internal passages that can trap air, and if the caliper is mounted in a way where these passages are at different elevations, a single bleeder might not be able to remove all the trapped air. This is why high-performance and heavy-duty vehicles often have calipers with two bleeders.
Materials You’ll Need:
- Brake fluid of the proper type for your vehicle
- A clear hose
- A wrench that fits your vehicle’s bleeder valves
- A clean glass jar
- A helper to assist with the brake pedal
Step 1: Preparation
Safety first! Make sure your vehicle is parked on a level surface and that you’re using wheel chocks to prevent it from rolling. The parking brake should be engaged, and if possible, lift the vehicle and secure it on jack stands for better access to the brake calipers.
Open the hood and locate your master brake cylinder; top it off with fresh brake fluid if it’s not already full. Remember, always use the type of brake fluid recommended by your vehicle’s manufacturer. You can usually find this information in your owner’s manual or a reliable automotive resource like Edmunds.
Step 2: Locate the Calipers With Two Bleeders
Depending on your vehicle, you will need to locate the calipers that feature dual bleeders. They are commonly found on the rear wheels but can be found on all four corners for certain models. Once located, clean the bleeder valves with a suitable cleaner to prevent any debris from entering the brake lines during the bleeding process.
Step 3: Attach the Clear Hose
Attach one end of your clear hose to the top bleeder valve and place the other end into a clear glass jar. Make sure the end of the hose is submerged in a little bit of brake fluid; this prevents air from being sucked back into the caliper when bleeding.
Step 4: Start With the Caliper Farthest From the Master Cylinder
This is a crucial step; start bleeding the brakes from the caliper that is farthest away from the master cylinder, which is usually the rear wheel on the opposite side of the driver. The sequence for bleeding is typically from the farthest wheel to the nearest to the master cylinder.
Step 5: Press the Brake Pedal
Have your helper press down slowly on the brake pedal and hold it down. As they do this, open the upper bleeder valve using your wrench. You will see brake fluid (and hopefully air bubbles) being expelled into the jar. When the flow slows down, close the bleeder valve while your helper is still holding the pedal down.
Step 6: Repeat on the Lower Bleeder Valve
Now, move on to the lower bleeder valve while your helper holds the brake pedal down. Open the valve, allow fluid to flow until it stops bubbling, and then close the valve again before the pedal is released. Repeat this process four or five times, alternating between the upper and lower valves, until you see no more air bubbles.
Step 7: Check Brake Fluid Levels
It’s essential to check the brake fluid levels in the master cylinder after bleeding each caliper. If the fluid gets too low, it can introduce additional air into the system, and you would have to start all over again.
Step 8: Test the Brake Pressure
After each caliper has been bled, ask your helper to check the firmness of the brake pedal. If the pedal still feels spongy, there may still be air in the system, and additional bleeding may be necessary.
Step 9: Move on to the Next Wheel
Once you’re confident there are no air bubbles coming from the first caliper, move onto the next wheel – working your way towards the master cylinder. Follow steps 4 through 8 for each wheel.
Conclusion:
Bleeding your vehicle’s brakes is a great DIY project that can enhance your braking performance and safety. Remember, if you’re uncomfortable with performing this maintenance yourself, it’s always wiser to consult a professional mechanic.
For more detailed explanations and best practices, I recommend consulting authoritative automotive repair sites such as Car and Driver and Motor Trend, as they provide valuable insights into the nuances of car maintenance.
Bleeding brakes may seem daunting, but with patience, precision, and a bit of know-how, you can ensure that your car brakes efficiently, safely and is ready for the road. Happy braking!

